
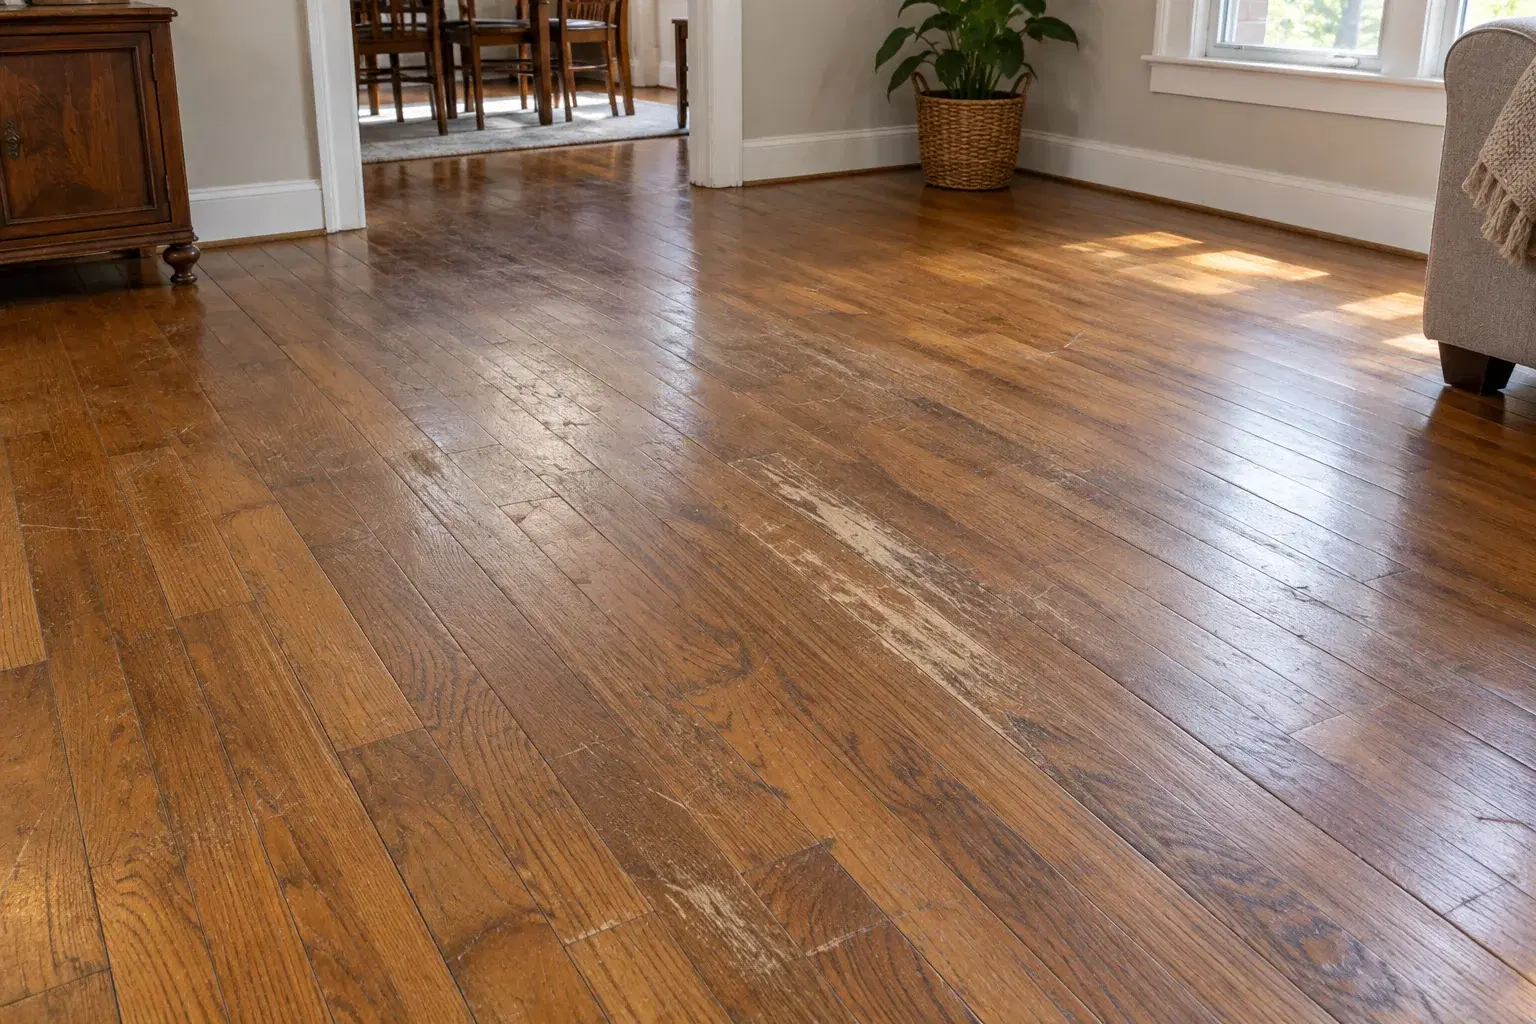
Wood floors can take years of everyday living, but eventually even a well-maintained floor begins to show wear. Traffic paths look dull, scratches become more noticeable, and the surface loses its fresh appearance.
That does not always mean the floor needs to be sanded down. Sometimes a maintenance recoat is enough to renew its protection. Other floors need a full sand and refinish to address damage or create a different look. Understanding the difference helps you choose the right treatment for your home.
What is a wood floor recoat?
A recoat adds a new layer of compatible finish over the existing finish. Often called a screen and recoat or buff and coat, it typically involves cleaning the floor, lightly abrading the surface, removing dust, and applying fresh finish.
The light abrasion prepares the existing coating for adhesion. It does not sand the floor down to bare wood. Think of a recoat as maintenance for the floor's protective surface. It can refresh a tired appearance and renew protection, but it cannot remove damage that extends into the wood.
When a recoat makes sense
A recoat may be a good option when your floor has light surface wear, looks dull after proper cleaning, and still has an intact finish. It is especially useful when you like the existing color and want to preserve it.
Minor scratches in the finish may become less noticeable, but deeper scratches and dents will remain. A recoat also offers an opportunity to select a different sheen, provided the new finish is compatible.
Before proceeding, a flooring professional should identify the existing finish and ask about cleaning products, waxes, and polishes previously used on the floor. Residue can interfere with adhesion, so cleaning, surface preparation, and an adhesion test may be necessary. Oiled or waxed floors require maintenance appropriate to their finish system.

When your floor needs a full refinish
Full refinishing removes the existing finish and sands the wood before a new finish system is applied. It is generally appropriate when the finish has worn through to bare wood or scratches and dents extend below the coating. It also allows you to change the stain color.
Sanding has limits. Deep pet stains, severe gouges, and damaged boards may require additional treatment or board replacement. If the floor has cupping, buckling, or other signs of moisture trouble, the cause must be resolved and the floor evaluated before sanding begins.
Inspect the floor
The contractor checks the flooring type, remaining sandable wood, previous repairs, and overall condition.
Solid hardwood and engineered hardwood need different evaluations. An engineered floor must have enough remaining hardwood wear layer for the proposed sanding, and the manufacturer's guidance matters. Previous sanding and uneven areas also affect suitability. Laminate and wood-look vinyl cannot undergo this wood-sanding process.
Prepare the rooms and make repairs
Furniture and rugs come out of the work area, and the contractor explains access, dust containment, and any trim removal.
Discuss the household schedule before work starts, particularly if the project affects a kitchen, main hallway, or access to bedrooms. Loose or damaged boards should be addressed as part of the preparation.
Sand the wood
Professional sanding removes the old coating and prepares an even surface. The contractor works through an appropriate sequence of abrasives, including equipment for edges and corners.
This preparation affects how the finished floor looks. Poor sanding can leave marks that become more visible once stain or finish is applied. Sanding can also change existing textures and bevels, so discuss those details beforehand.
Choose the color and apply the finish
After sanding and dust removal, stain can be applied if a color change is desired. Sampling on the actual floor helps you see how the wood responds.
An unstained floor still needs a protective finish system. The contractor applies the selected sealer and finish as specified by the manufacturer, allowing the required drying time and preparation between coats. The products and number of coats depend on the chosen system.
Plan for drying and curing
Recoating generally causes less disruption than a full refinish, but both require time before normal use resumes.
Drying and curing are different. A surface may be ready for limited foot traffic while the finish is still developing its full properties. Get written instructions for walking on the floor, returning furniture, replacing rugs, and cleaning. Follow the schedule for the actual finish used rather than a general rule.
Ask about dust collection and ventilation, too. Dust containment can greatly reduce cleanup, but it is sensible to plan for some cleaning afterward.
Keep the new finish looking good
Remove grit regularly, use protective furniture pads, and clean with products approved for your floor's finish. Avoid steam mops and excessive water. Watch high-traffic areas for wear so you can discuss a maintenance recoat before the protective coating wears through.
For homeowners in Medford and throughout Southern Oregon, a floor evaluation is the best place to start. Bring photos and details about your floor's condition to the showroom to discuss maintenance products and next steps.
Professional guidance referenced in the supplied article includes National Wood Flooring Association floor-care, refinishing, and Sand and Finish Guidelines; Pallmann PALL-X GOLD preparation, application, curing, and maintenance instructions; and Pallmann dust-containment information.